Installation Hardware and Materials
Included in each box:
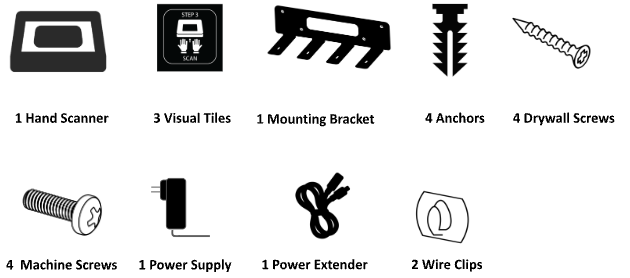
Tools Required:
WARNING: Some dust created by power sanding, sawing, grinding, drilling, and other construction activities contains chemicals known to the State of California to cause cancer, birth defects or other reproductive harm.
Installation Instructions for Standard Wall Mount
1. Finding the Perfect Location:
Find a spot on the wall near the hand sink where the Hand Scanner can fit easily into the hand washing routine. Employees will wash, dry, and then immediately scan their hands.
Keep the device as close as possible to a 50 in (127 cm) height from the floor.
- NOTE: You may need to relocate paper towel dispensers or soap dispensers to mount the Hand Scanner in its ideal location. Next to the glove rack is another acceptable location, especially when there is little space at the hand sink.
- NOTE: Failure to re-install paper towel or soap dispensers could result in violations from the local health department.
- NOTE: If there is a fire extinguisher next to the hand sink, ensure the fire extinguisher can still be accessed in case of emergency. Avoid moving the fire extinguisher.
Power:
Make sure there is an outlet within a reasonable distance from the mounting location so the power cable can reach. The power supply is 3’ standard. With the included extender, you can reach up to 9’ to the outlet. If in need of a longer extender, please reach out to PathSpot Support.
Information on fire code compliance can be found at the end of this document.
Placement:
The sensors on the scanner are very sensitive to light. Before doing any drilling, plug in and power on the scanner, and hold it to the wall at the intended mounting location. Confirm the blue lights from the device are off.
If the blue light turns on, without any hands under it, this means the sensors are being triggered. Adjust the position of the device until the lights are no longer triggered. If possible, avoid mounting the scanner above any stainless steel. Light reflecting off surfaces is the biggest issue with false triggers/errors.
Be sure to leave 8” of clearance under the scanner. This gives the user room for their hands, and limits any interference.
2. Mount the Bracket at the Selected Location.
- Use a level to confirm the bracket is straight. Mark the 4 screw holes on the wall.
- NOTE: The device is 1” wider than the bracket.
- Drill through the 4 marked points with a 3/16 in (4.5 mm) drill bit and install the anchors.
- Mount the bracket to the wall using the drywall screws.
- Depending on the wall material, you may need a hammer to install the anchors.
- If mounting on Tile, screw the top 2 holes of the bracket to the grout lines. Bottom two screws are not needed. **Ease of install should never override ease of use. Please remember to always mount the device in an easy to use & read place. **
3. Fasten the device to the bracket.
- Slide the rear of the device onto the bracket.
- Gently push down on the device to lock it into place.
- Insert the machine screws through the bracket into the holes visible on the bottom of the device and tighten.
4. Configure & Test
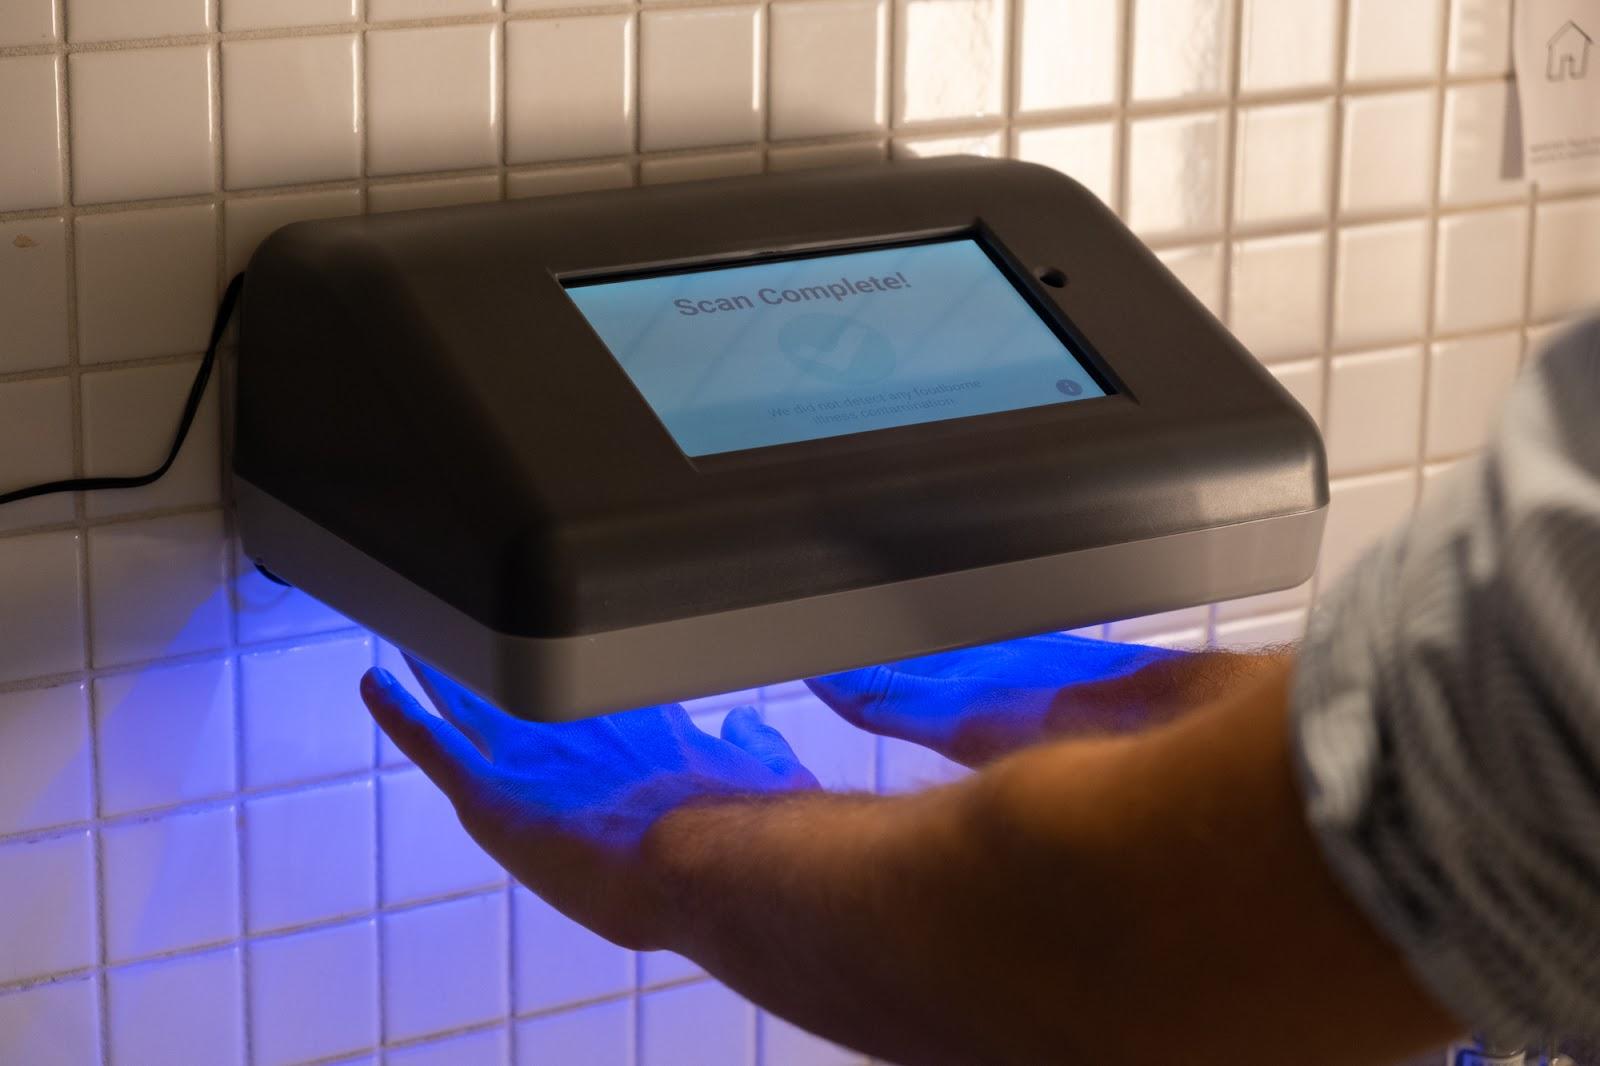
Plug the Hand Scanner into the outlet. The PathSpot application screen will appear automatically. Wait for the screen to launch. If the light turns on when you place your hands beneath the device, then you have successfully mounted your Hand Scanner. Follow instructions on the screen to complete install.
Software Update. The scanner may start downloading an update when it’s connected to wifi. Let the update download and install before moving on.
Connect to the location’s WiFi Network. A Password may be needed depending on your network.
Auto Registration. The scanners should auto register once connected to wifi. If not, you’ll see the optional step below.
(Optional - if asked) Enter the registration code included in the box to complete the setup. Registration codes are unique to each device and should not be used on more than one device.
Name the Scanner. Scanners should be named following this template:
[Client] [Store/location number] [Station]
Example: PathSpot 227 Prep Sink
Test the Scanner. Follow the prompts on the screen to scan your hands. Place hands under the scanner, the purple light will illuminate and you’ll see the timer start counting. When prompted, flip hands and scan the other side.
You’ll then be shown a Green or Red screen. This means your scanner is working successfully.
5. Clean Up & Check Out
- Tidy the installation area. Clean up any debris created from drilling. All trash from the install should be disposed of. PathSpot boxes should be left for locations to store for future use.
- Use the two provided wire clips to fasten the cord to the wall for a tidy appearance. No excess cord should be hanging anywhere visible. Lines should be straight and tight. .
- Place signage: Stick the PathSpot “Frequently Asked Questions” sign on the wall near the Hand Scanner. If the sign does not stick, please use an alternative: staples, or tape. Make sure the decals are in a place easy to read. Place them on the wall, not on any other equipment.
- Complete and submit Work Completion Form to your Project Team member
Fire Code Compliance
CABLE EXTENDER
The use of unapproved extension cords is a violation of both OSHA and National Fire Protection Association codes. Will PathSpot’s cable extenders create a hazard?
PathSpot’s cable extenders do not create a hazard if proper guidelines are followed.
PathSpot’s approved PVC insulated cable extenders transfer 12V DC regulated at 2A max (80 deg C 300 V, VW-1 FT1, 22AWG), as opposed to 120V AC, common with many extension cords. We do not splice or tap our cord.
Per OSHA (1910.334 and 1926.405), Flexible cords and cables shall be protected from damage. Sharp corners and projections shall be avoided. All cables shall be visually inspected before use on any shift for external defects (such as loose parts, deformed and missing pins, or damage to outer jacket or insulation) and for evidence of possible internal damage (such as pinched or crushed outer jacket).
Always ensure installation does not create a tripping hazard or inhibit access to items such as fire extinguishers or emergency exits and do not run the cable extender through doorways.
For guidance on flexible cords, refer to NFPA 422.16.